10 Steps to Migrate from Shared Hosting to AWS
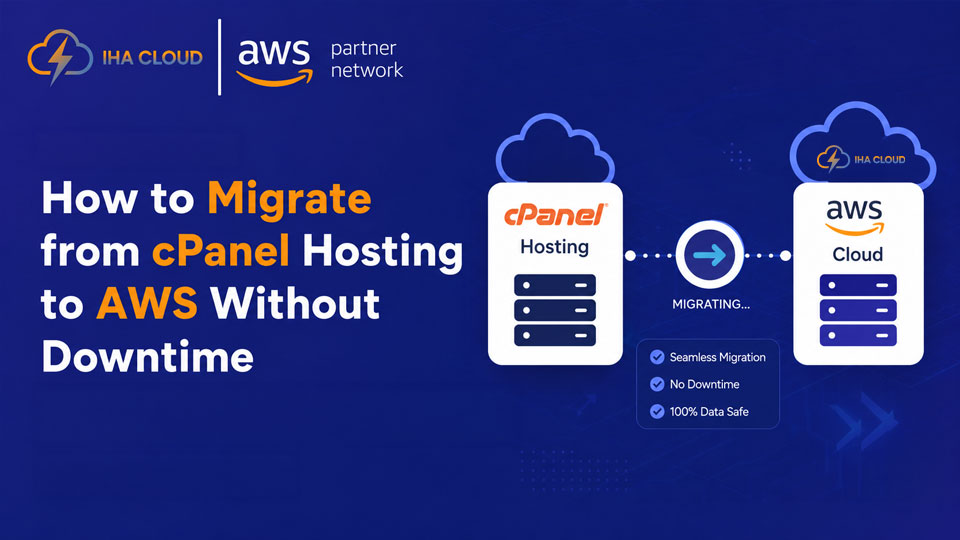
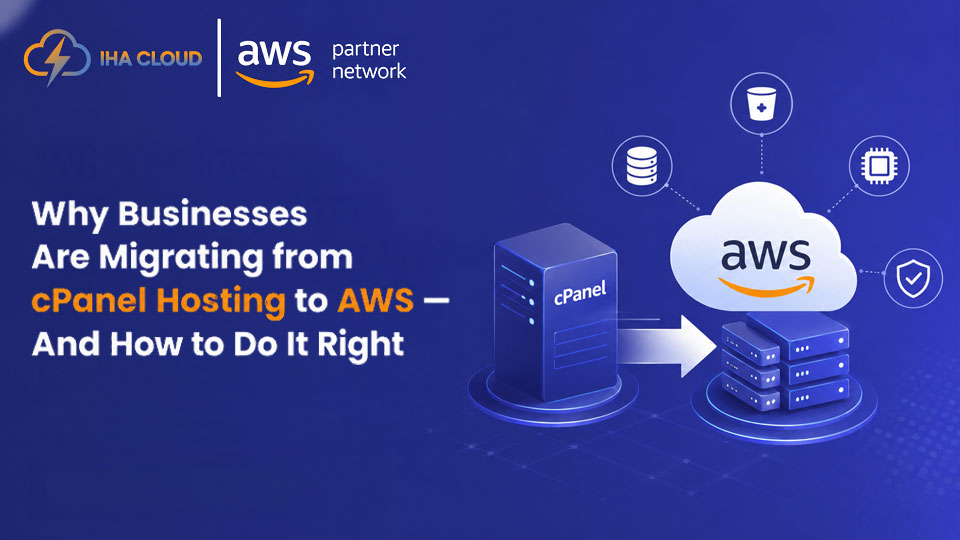
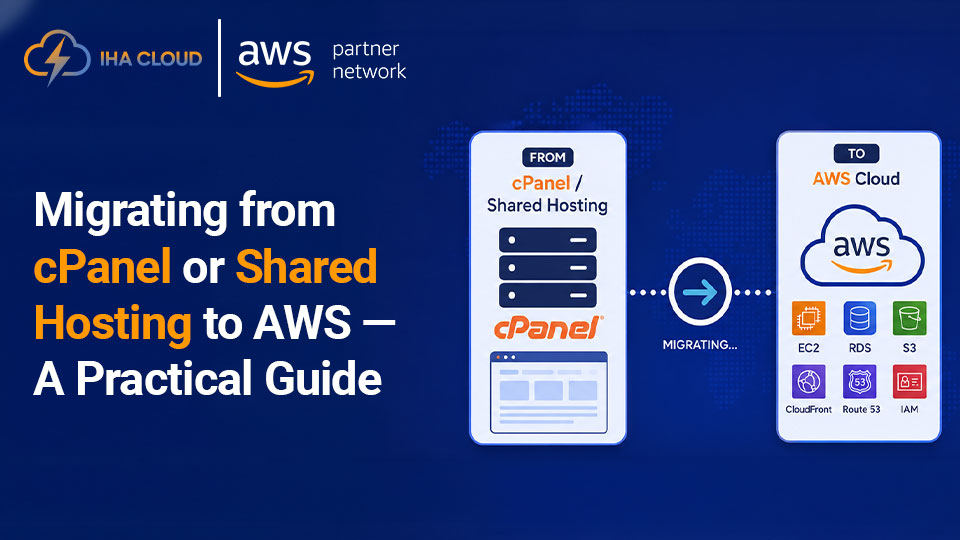
As your website grows, shared hosting often starts showing its limitations. Slow loading speeds, limited server resources, frequent downtime during traffic spikes, and restricted customization can all affect your website’s performance and user experience. If your business depends on its website, these issues can eventually impact customer satisfaction and even revenue. This is where Amazon Web Services (AWS) becomes a strong alternative. AWS offers scalable infrastructure, better security, improved reliability, and the flexibility to configure your hosting environment according to your business needs. Whether you’re running a WordPress website, an eCommerce store, or a custom web application, migrating to AWS can provide long-term benefits. However, a successful migration requires proper planning. Moving files without preparation can lead to broken websites, database errors, or unnecessary downtime. Following a structured migration process helps ensure that your website remains secure and accessible throughout the transition. In this guide, we’ll walk through the complete migration process in ten easy-to-follow steps. Step 1: Assess Your Current Website The first step before migrating your website is understanding exactly what you’re moving. Many website owners rush directly into setting up an AWS server without evaluating their existing hosting environment. This often leads to missing files, configuration issues, or unexpected downtime. Start by identifying your website’s technology stack. Ask yourself questions such as: Next, review your hosting resources. Note your current disk usage, bandwidth consumption, database size, email accounts, SSL certificates, cron jobs, and DNS settings. These details will help you recreate the same environment on AWS. You should also identify any third-party integrations such as payment gateways, CRM systems, analytics tools, APIs, or SMTP email services. These services may require IP whitelisting or DNS updates after migration. Finally, create a complete inventory of your website. Knowing exactly what exists before migration makes the entire process much smoother and significantly reduces the chances of overlooking important components. Step 2: Choose the Right AWS Services AWS offers hundreds of cloud services, but you don’t need all of them. Choosing the right services based on your website’s requirements helps keep your infrastructure simple, secure, and cost-effective. For most websites, the following AWS services are commonly used: Amazon EC2 Amazon EC2 provides virtual servers where your website will run. You can choose different instance types depending on your traffic, CPU requirements, and memory usage. Unlike shared hosting, EC2 gives you dedicated resources and complete control over your server. Amazon RDS (Optional) If you prefer a managed database solution, Amazon RDS is an excellent choice. AWS automatically handles backups, software updates, monitoring, and failover, reducing administrative work. Amazon S3 S3 is ideal for storing backups, media files, downloadable documents, and other static assets. It offers high durability while reducing the storage load on your main server. Elastic IP An Elastic IP provides a static public IP address for your EC2 instance. This makes DNS configuration easier and prevents your website’s IP from changing after server restarts. Route 53 AWS Route 53 is a managed DNS service that helps direct visitors to your website quickly and reliably. AWS Certificate Manager Instead of purchasing SSL certificates separately, you can manage SSL certificates through AWS Certificate Manager for supported AWS services. Choosing the correct AWS services at the beginning helps you avoid unnecessary expenses while building a scalable infrastructure that can grow alongside your business. Step 3: Launch and Configure Your AWS Server Once you’ve selected the appropriate AWS services, it’s time to create your new hosting environment. Begin by launching an Amazon EC2 instance. Select an operating system that you’re comfortable managing, such as Ubuntu Server or Amazon Linux. Next, choose an instance size based on your expected website traffic and application requirements. After launching the server, configure your Security Groups. These function like virtual firewalls and determine which traffic is allowed to access your server. Typically, you’ll need to allow ports such as: Next, connect to your EC2 instance using SSH and install the necessary software components. Depending on your website, this may include: Once the software is installed, configure your virtual hosts, upload directories, PHP settings, and file permissions to match your existing hosting environment. Before moving any website files, verify that the server is fully operational. A properly configured AWS server forms the foundation for a successful migration and helps minimize issues later in the process. Step 4: Back Up Your Website Before Migration Before making any changes, create a complete backup of your existing website. Even if your hosting provider offers automatic backups, it’s always recommended to keep your own copy. If anything goes wrong during the migration, you’ll be able to restore your website quickly. Your backup should include: Website Files Download all website files from your shared hosting account using cPanel File Manager, FTP, or SSH. This includes: Database Most websites store important data inside a database. Export your MySQL or MariaDB database using phpMyAdmin or the mysqldump command. Your database backup contains: Without the database, your website cannot function properly. Other Important Data Don’t forget to save: Store your backup in multiple locations, such as your local computer and cloud storage. This extra precaution can save hours of recovery work if unexpected issues arise. Step 5: Transfer Website Files to AWS Once your backup is ready, you can move your website files to the new AWS server. There are several ways to upload files, including: For larger websites, tools like rsync are particularly useful because they transfer only changed files, making future updates much faster. After uploading the files, place them inside the correct web directory. For example: The exact location depends on how your web server is configured. Verify File Permissions Incorrect file permissions are one of the most common migration issues. Generally: Avoid giving every file full permissions simply to “make it work.” Proper permissions improve both security and stability. After uploading everything, compare the file count with your original backup to ensure nothing was missed during the transfer. You can also read: How to Migrate from cPanel Hosting to AWS Without Downtime Step
10 Steps to Migrate from Shared Hosting to AWS Read More »